Showing posts with label recycled. Show all posts

Sunday, April 17, 2011

Milk Jug Easter Basket


Easter falls a few days after Earth Day this year so what better way to celebrate both than by making this recycled milk jug basket?! This recycled craft is fast (minus paint dry time) and easy. Better yet, you most likely have everything you need on hand to make one.


You'll need:
cleaned gallon milk jug
measuring tape or ruler
sharpie
small hole punch (1/16th)
x-acto blade
scissors
paint or alcohol ink
large eye needle 
yarn or ribbon

    Directions:
    To get started you'll need to mark your jug where you will be cutting. Measure a consistent distance from the bottom and mark a line with your sharpie all the way around the jug. Be sure to stay under the raised area on the jug.


    Next, draw the "handles" on two opposite sides (not the one with the jug handle of course). Use the seam on the jug as a guide and mark about a half inch on each side of the seam, making the handle a total of 1". Use a straight edge if you can or  free-hand the line if you are comfortable. It's a little tricky to hold something on the surface and draw the line at the same time. A second set of hands would be helpful! =)


    Then mark another line 1" above the mark for the height of the basket. This will be the extension for the handle.


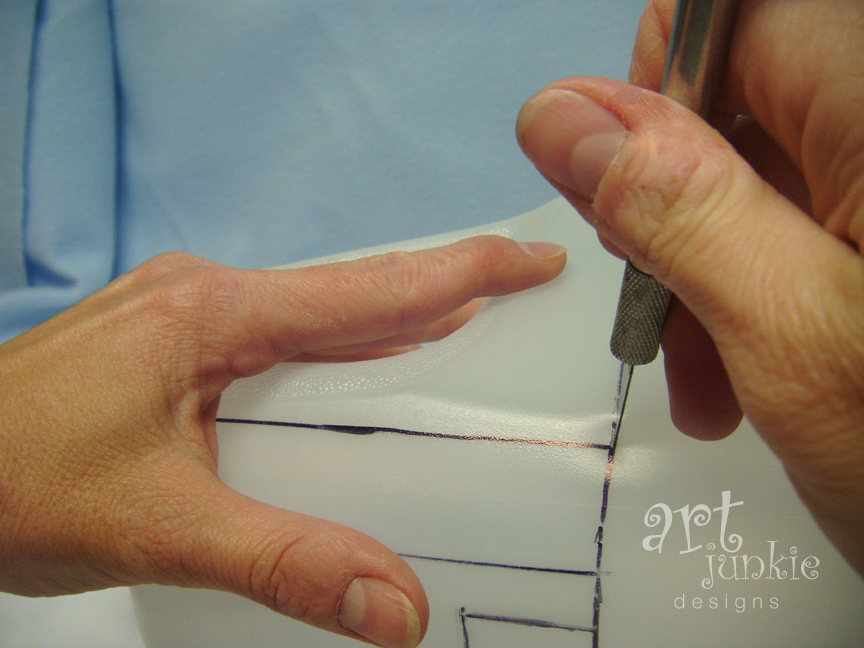
    Use your x-acto blade to start the cuts at the handle intersections. Then use the scissors to complete. I found the scissors gave me a little more control than the x-acto blade and you can actually just "slice" through the material with out actually "cutting" if your scissors are really sharp.


    This is what you should have so far... Once these steps are complete you can use your nail to scrape off the sharpie marks or use a solvent if it's stubborn.


    Make a template on a piece of cardstock (or mark directly on the "basket") holes 1/8" from the top and 1/4" apart. all the way around the jug and on all the handles. Start the holes so the first one in the corner is at a 45º angle from the bend. That way the hole will be in the center for the sides and the handle.


    Paint or stain the basket as desired. I found that paint is tricky. Even using paint made for plastic seemed to chip off easily. Perhaps a light sanding and priming would help. Alcohol ink does a great job of coloring the plastic although it's somewhat transparent and I was going for solid. You could coat the surface with glue and glitter it. Of course you could leave it white too. Be creative and experiment on your scraps first.


    Once the paint has dried (if you chose that route), use the needle and thread to sew a "blanket stitch" all the way around the edge of the basket to finish it off. Use two of the holes on each side of the handles with the extension for stability. You could even dab a bit of glue (E6000) on the overlap.


    Finish it out with "grass" made from cut strips of colored card stock run through a "crimper" or strips of newsprint for even more recycled goodness! Place decorative eggs, flowers and other Easter/springy decorations for a centerpiece that does dual duty! 


    I hope you enjoyed this tutorial, and as always, I'd love to see your creations!
    Happy Earth Day, Happy Easter and Happy Spring!


    NOTE: Since this project potentially uses paint/stains that may be harmful to children it should be used for decorative purposes only!

    Wednesday, April 6, 2011

    Earth Day Activities - Post Yours!


    Trying something new here again!

    April 22 is Earth Day. We try to be eco-friendly here all year and I try to implement new ways to go green and minimize our footprint as often as I can. April and Earth Day always bring those thoughts to the forefront and help us remember to renew our efforts.

    We love to use recycled materials in our crafts and I thought it would be fun to turn this post over to you and let you show some of your favorite Earth Friendly activities and projects! So, please check out the linky request below and add your creations! I can't wait to see all the great projects!

    Friday, June 12, 2009

    February Flashback

    Hello! Yes, it's been too long between blogs again! I am working on a project that I want to post when I am done with it. But it made me miss my blog and I thought in the meantime I'd post something Zion and I did back in February and I never got a chance to post. Better late than never, right? Or we can look at it like this - it will help you prepare for next valentines... or give you a great rainy-day summer activity to do! Either way, enjoy!

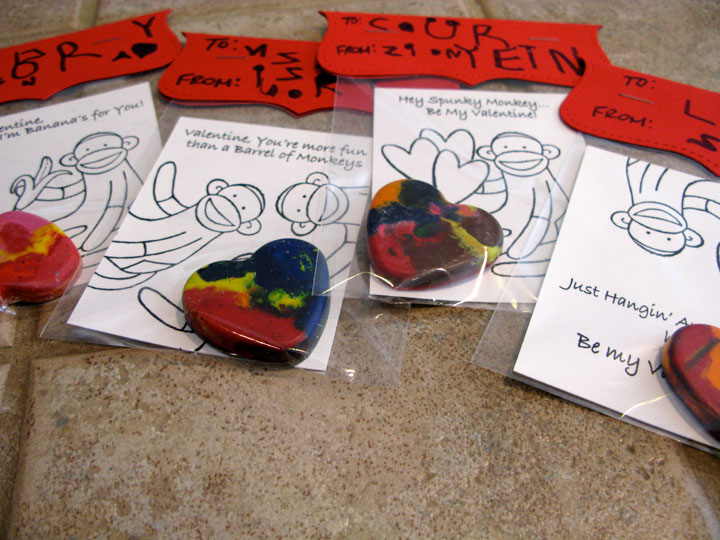
    Monkey Valentines
    Sweet Crayon Heart & Color-in Valentines!

    If you have kids then you have crayons. Millions of them. And if you are a crazy, pack-rat, crafter like myself you keep all the ones your kids get when you go to restaurants too. So you have millions more. They are loving used by your little artistes, they break and then you have billions of broken crayon fragments! Well, for pete sake, DON'T throw them away! There are plenty of great crafty applications for broken crayons and perhaps I'll blog more of those later. But for this little handmade Valentine you melt them in heart shaped molds and make brand new multi-colored heart shaped crayons!. Of course you could use any shape mold, but these *were* for Valentines!

    Crayon Hearts Crayon Hearts

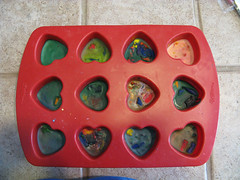
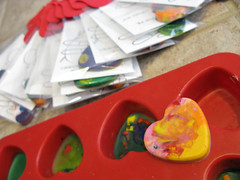
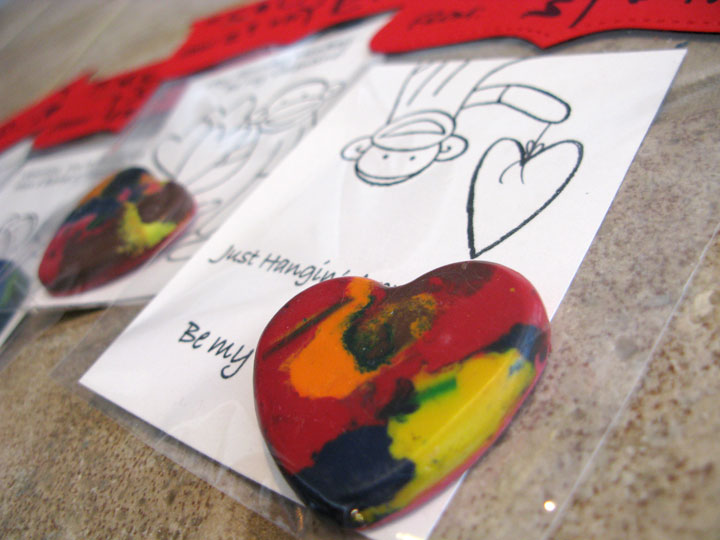
    They are so easy! Remove the paper from your crayons and break them into tiny pieces. You can use an X-acto blade to slice the logs into smaller pieces. (Parents do this part!) Then let your kiddos pick out the colors to go into each heart. You may have to help persuade them to use a few bright colors along with the dark blue, green and browns. =) Bake them in the oven at 250º for 10-15 minutes or until they are melted but not so liquidly that you get brown sludge. After they cool just pop them out of the molds and rub any rough edges on a scrap piece of paper. Ta-da! Cute muti-colored crayons, perfect for coloring in the valentine.

    Card with Crayon

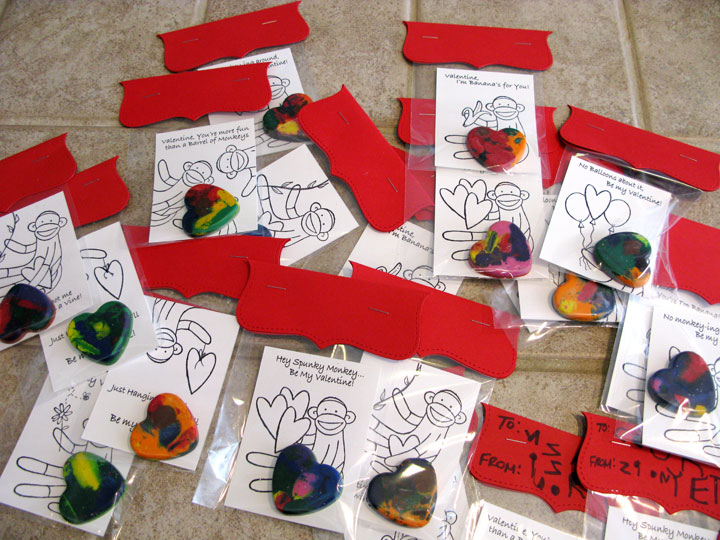
    For these cards I printed out sayings with my computer and used Stampin' Up's Sock Money set for the images. The sayings were all monkey related like...

    Valentine, You got me Swingin’ on a Vine!
    No Monkey-ing around, Be my Valentine!
    I’m Banana’s for You!
    You’re more fun than a Barrel of Monkeys!
    You’re Top Banana!
    Just Hangin’ Around, Hoping You’ll be my Valentine!

    Then we used the Stampin' Up Top Note die to make the header cards for the packages. Put in a valentine, a crayon heart and staple the header card to acetate bags. Voila!

    Finished Cards

    I let Z write on the header cards the To's and From's but you could go crazy and decorate that part as well! So many options. Now go dig out your muffin molds and broken crayons and have a ball. Because if it's like it is here, it's raining and the kids need something to do! =)

    Sunday, September 14, 2008

    More Halloween Fun


    treeornaments2 HalloweenTree treeornaments1


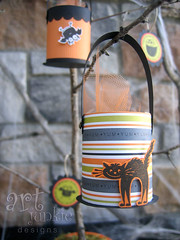
    Here is a super fun treat basket project that will delight your little Trick-or-Treaters. It can be used for so many occasions, not just Halloween. It's so easy and it's a recycled craft. Love that.

    Here is what you'll need:
    • Paper towel or Toilet paper rolls
    • Themed paper and card stock
    • Stamps, punches, adhesive and embellishments (ie. ribbon, brads)

    Instructions
    • Cut towel rolls into 2" strips. Use a paper template to trace sections and cut carefully with hobby blade.
    • Cut paper (2 per container) into 6" x 2" strips to adhere to outside, and coordinating stock for inside. (Use strong adhesive like Sticky Strip)
    • Punch or cut 2" circles for the base. Attach to tube with a liquid glue like Tombow or Crystal Effects
    • Cut 3/8" x 5 1/2" strip for handle, punch 1/16" holes in each end and round ends if desired.
    • Punch 1/16" holes in decorated tube and attach handle with brads.
    • Embellish with stamped image cutouts, ribbon, etc.
    • Voila! Fill with candy corn or small treats and hang on tree.

    (I made extra stamped medallions to hang on the tree like ornaments as well. Stamps used: Batty for You, Halloween Frights. Paper stock used: Ghostly Greetings. Other Supplies: 1 1/4" circle punch, 1 3/8" circle punch, scallop punch. All products are Stampin' Up!

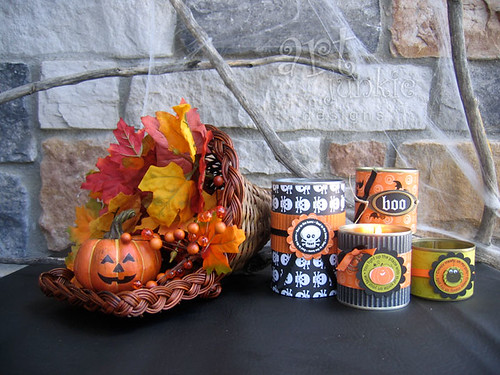
    lumineres

    Luminaries. More goodies made from various size tin cans and the same paper set, Ghostly Greetings. Embellished with stamped and punched pieces, ribbon, rub-ons and hodgepodge hardware. Just drop in votives and light up your Halloween! The face of the pumpkin is also a rub on from the Chills & Thrills set from Stampin' Up!

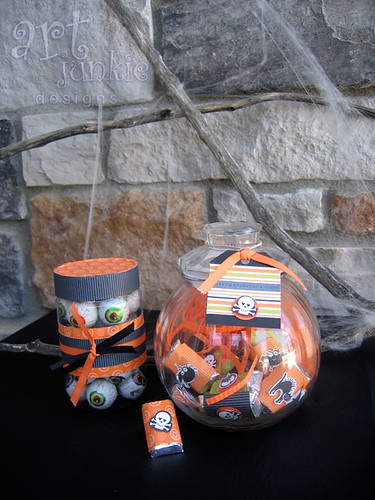
    candyjars

    Candy Containers. I've used Ghostly Greetings paper agian to wrap a peanut butter container that now houses the creepy eyeball candy. It's used on the individual chocolate bars as well. The possibilities are endless. My family may be sick of candy by the time Halloween really gets here this year. Oh, wait. I have to actually let them eat it to get sick of it. =)

    If you decide to make any of the things I've shown send me links! I'd love to see what other people come up with.
    Here's to 46 more days until Halloween!