

Easter falls a few days after Earth Day this year so what better way to celebrate both than by making this recycled milk jug basket?! This recycled craft is fast (minus paint dry time) and easy. Better yet, you most likely have everything you need on hand to make one.

You'll need:cleaned gallon milk jugmeasuring tape or rulersharpiesmall hole punch (1/16th)x-acto bladescissorspaint or alcohol inklarge eye needleyarn or ribbon
Directions:
To get started you'll need to mark your jug where you will be cutting. Measure a consistent distance from the bottom and mark a line with your sharpie all the way around the jug. Be sure to stay under the raised area on the jug.

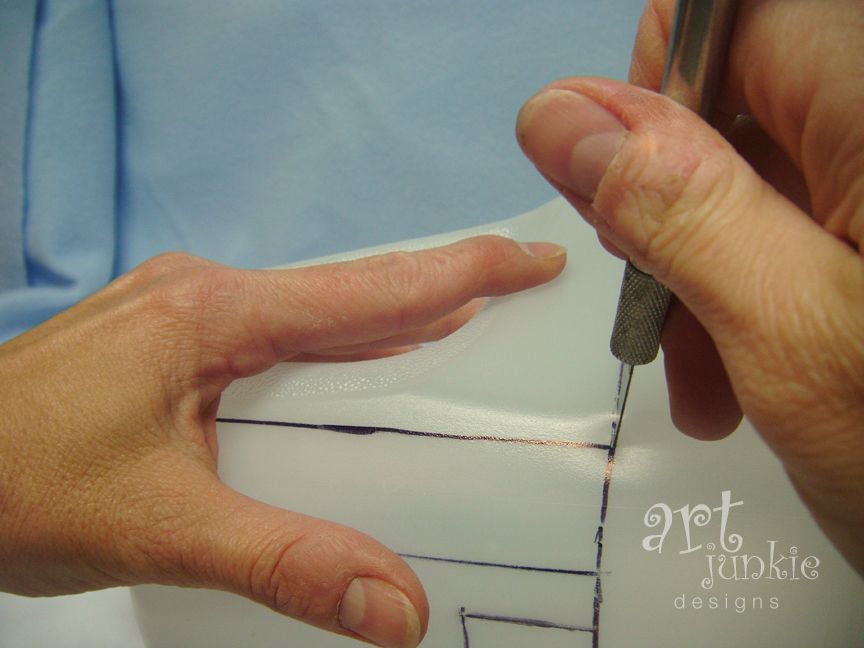
Next, draw the "handles" on two opposite sides (not the one with the jug handle of course). Use the seam on the jug as a guide and mark about a half inch on each side of the seam, making the handle a total of 1". Use a straight edge if you can or free-hand the line if you are comfortable. It's a little tricky to hold something on the surface and draw the line at the same time. A second set of hands would be helpful! =)

Then mark another line 1" above the mark for the height of the basket. This will be the extension for the handle.

Use your x-acto blade to start the cuts at the handle intersections. Then use the scissors to complete. I found the scissors gave me a little more control than the x-acto blade and you can actually just "slice" through the material with out actually "cutting" if your scissors are really sharp.


Make a template on a piece of cardstock (or mark directly on the "basket") holes 1/8" from the top and 1/4" apart. all the way around the jug and on all the handles. Start the holes so the first one in the corner is at a 45º angle from the bend. That way the hole will be in the center for the sides and the handle.


Paint or stain the basket as desired. I found that paint is tricky. Even using paint made for plastic seemed to chip off easily. Perhaps a light sanding and priming would help. Alcohol ink does a great job of coloring the plastic although it's somewhat transparent and I was going for solid. You could coat the surface with glue and glitter it. Of course you could leave it white too. Be creative and experiment on your scraps first.
Once the paint has dried (if you chose that route), use the needle and thread to sew a "blanket stitch" all the way around the edge of the basket to finish it off. Use two of the holes on each side of the handles with the extension for stability. You could even dab a bit of glue (E6000) on the overlap.

Finish it out with "grass" made from cut strips of colored card stock run through a "crimper" or strips of newsprint for even more recycled goodness! Place decorative eggs, flowers and other Easter/springy decorations for a centerpiece that does dual duty!

I hope you enjoyed this tutorial, and as always, I'd love to see your creations!
Happy Earth Day, Happy Easter and Happy Spring!
NOTE: Since this project potentially uses paint/stains that may be harmful to children it should be used for decorative purposes only!


